Home Staging Photography Tips for Better Online Listings
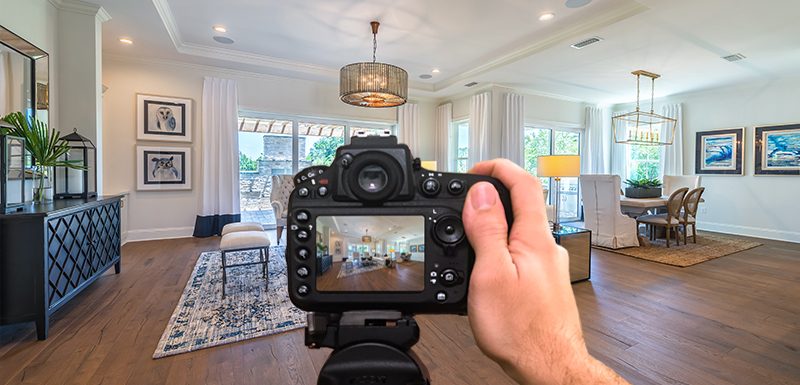
When it comes to impressing buyers, nothing is better than great photography. The better quality the home images are, the more likely the potential buyer will convert to a homeowner. Some realtors have even sold homes based solely off of photos online. These seven home staging photography tips will help you get the most out of your real estate listings.
The idea that you will walk into a home and snap a couple of quick, high-quality photographs without doing necessary prep work ahead of time is very ambitious. If you plan to stage the home yourself, You have two options: Plan to stage the home before the day of shooting or expect to spend all day shooting one house. Either way, you need to spend time preparing each room to be photograph ready.
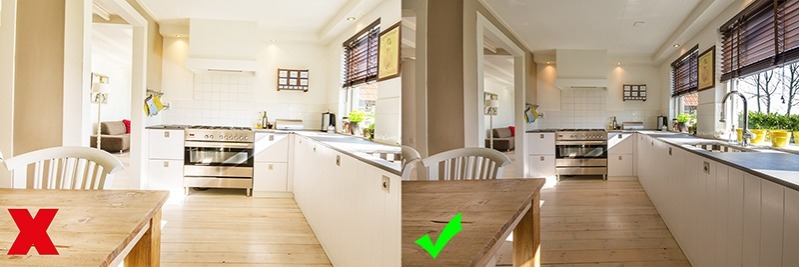
Consider the weather. Cloudy or rainy days without enough sunlight can darken your images. Be sure to pick bright and sunny days to shoot.
Tip #2 – Choose the Right Equipment
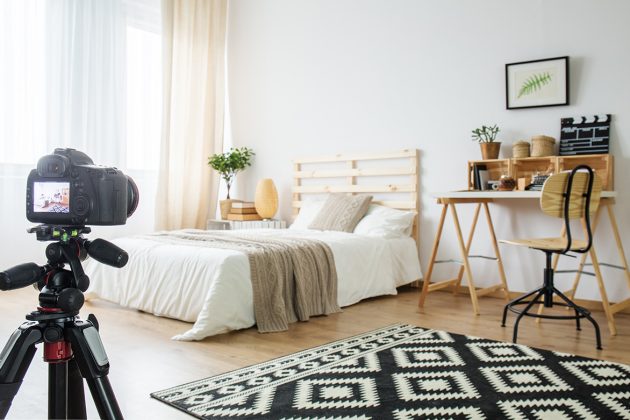
After you have prepared the house to be photographed, make sure you use the best equipment possible to maximize your photos. You can order a tripod on Amazon that is relatively inexpensive to help stabilize your camera when you are shooting. If you can afford it, use a DSLR camera. Newer model iPhones have a decent camera but, DSLR provides you with high-quality photos that will get the potential buyers a look at the space in the best light.
Extra tip: Use wide angle lenses but not a fisheye. Fisheye lenses have become popular lately, but they distort the way the room looks which can be misleading to buyers.
Tip #3 – Get the Right Angle
Did you know there is a science to the right angle of a photograph? To get the right angle you need to understand the composition and the Rule of Thirds.
Tip #4 – Take Test Shots
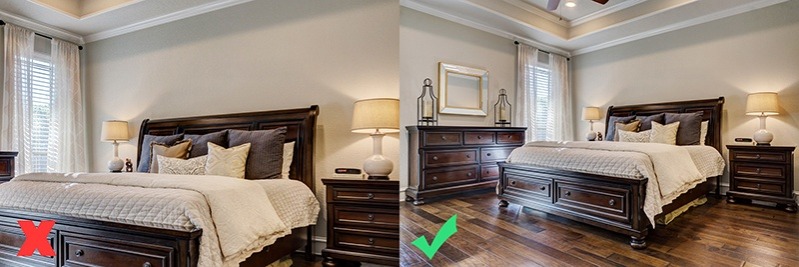
Take a few test shots to make sure that the room looks the absolute best. Check the picture for unsightly cords, debris hiding on the floor or under the bed, make sure hanging artwork is centered. Check the lighting in the image, be sure it’s as bright as possible.
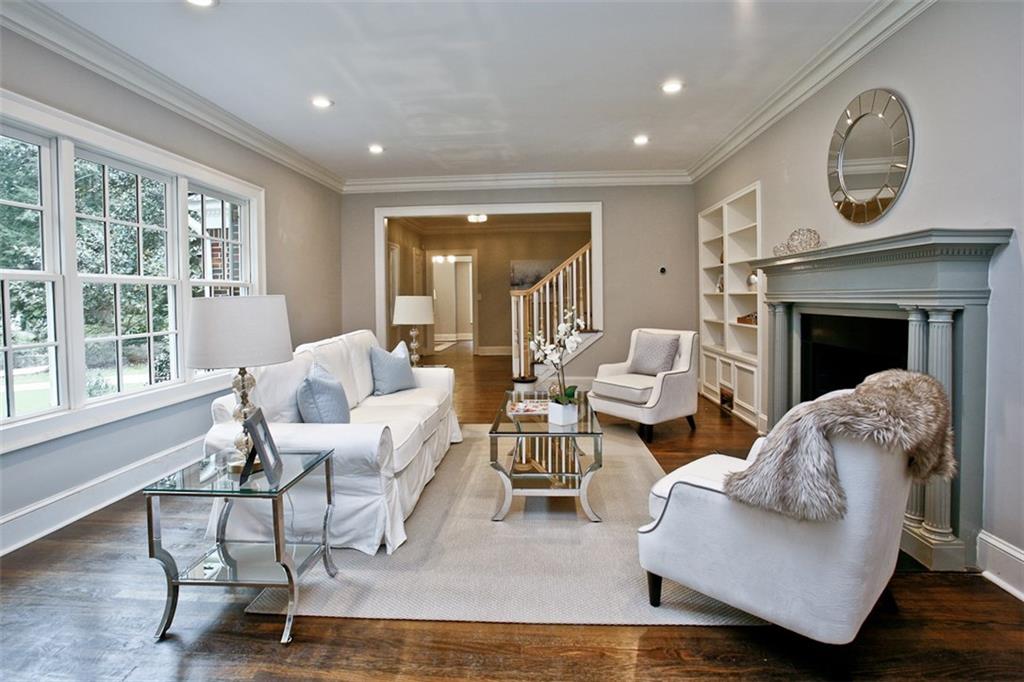
Tip #5 – Photograph Popular Areas
Ideally, you want to photograph every room in the house so the buyers can get a full picture of the home. If you are unable to do this, be sure to shoot the most popular rooms in the house and post the best pictures. According to Realtor.com, the living room, kitchen, and master bedroom are the most viewed rooms during online home searches. They also are the pages that buyers spend the most time looking at online.
Tip #6 – Avoid Overedits
If you take photographs with a DSLR camera, editing should be minimal. If you do not have a high-quality camera, you may need to send a little more time editing. Be cautious! Never make significant changes to a home that could be deceptive to a buyer. Even though the room would look more appealing with hardwood floors instead of the old purple carpet, resist the urge to change it. Also, never make major structural changes like removing walls or replacing the paint colors. Editing software has many benefits, but you should use it wisely. Do not deceive potential buyers.
Tip #7 – Hire an Expert
You can save time by hiring a professional home stager to help you get your home in show ready condition for pictures that will WOW the broadest range of potential buyers online. Check out our gallery page of amazing photos here to see some great examples of beautifully staged homes and contact us today for more home staging photography tips and other tricks for selling your home faster!